By: Emily Mikolay | Staff Writer

With winter in full swing, many of us are looking for something to keep us warm during the coldest months of the year. Besides this factor, one also has to bring into account that we are living through a pandemic, where a lot of the things that we use to do for fun are now inaccessible.
Keeping this in mind, I decided to try my hand at making some hot chocolate bombs! They were not only fun to create, but extremely easy as well. This is something that anyone can “bake” in their own home or dorm room, so grab your ingredients and let’s start crafting these delicious treats!

Ingredients:
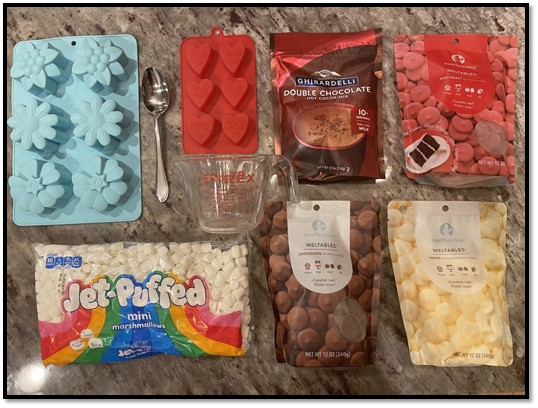
- Silicone Baking Molds (I chose a variety of shapes/sizes; but this is up to you!)
- Spoon
- Microwave Safe Bowl
- Hot Chocolate Mix
- Chocolate Melting Wafers, 12 oz bag (any kind of chocolate or color will work)
- Marshmallows (optional)
Once you have gathered the ingredients, follow these steps in order to create the perfect hot chocolate bomb!
Step 1: Fill your microwave safe bowl with the chocolate melting wafers. The amount that you will use depends on the size of your molds, as well as how thick you want the shell of your bombs to be. I personally found that for what I was using, half a bag was sufficient. Make sure to reserve some wafers for later use as well; this will be for when the two sides of the bombs get sealed together!
Step 2: Following the directions on the package of the chocolate melting wafers, microwave the chocolate until it is smooth and shiny in appearance.
Step 3: Using a spoon, carefully fill each mold with the chocolate. Make sure to cover the sides of the mold in its entirety, leaving no gaps. Gaps will result in the shell of the bomb breaking. In addition, remember to not “fill” the mold up to the top. We want the centers to be hollow (like a bowl) so we can fill them with hot chocolate mix later.
Step 4: Once coated, bring the molds to a cool space to let them set up for approximately ten minutes. They should be cool and firm to the touch before they are ready to be used again.
Step 5: After ten minutes, repeat step three and four again just to ensure that the mold is completely coated and “sturdy” for filling. You may need to reheat the chocolate.
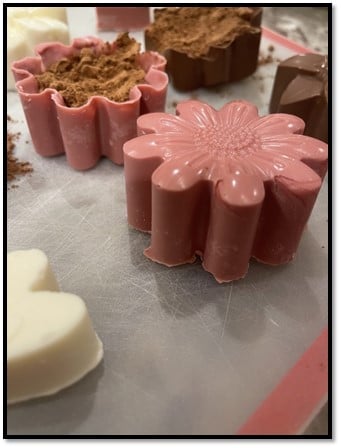
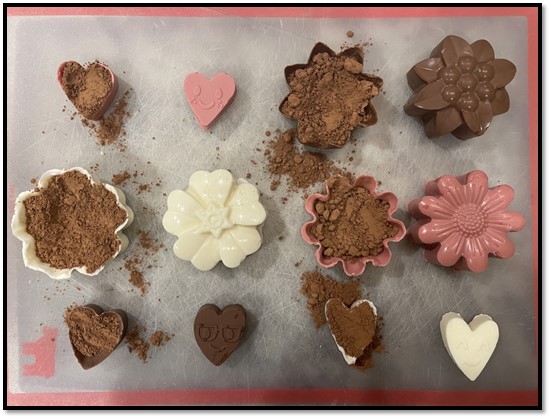
Step 6: Carefully remove shells from the molds, and place on a flat surface for filling.
Step 7: Fill one side of your bomb with one to two tablespoons of hot chocolate mix. This is where you can also add in your “mix-ins”: such as sprinkles, peppermint pieces, etc. I added marshmallows, but that is completely optional!

Step 8: Take the reserved chocolate melting wafers that you put aside and warm them in the microwave (again, based on the warming directions on the back of the chocolate melting wafer bag).
Step 9: Using a spoon, gently paint the chocolate along the edge of the unfilled chocolate shell. This will act as the “glue” for your bomb.
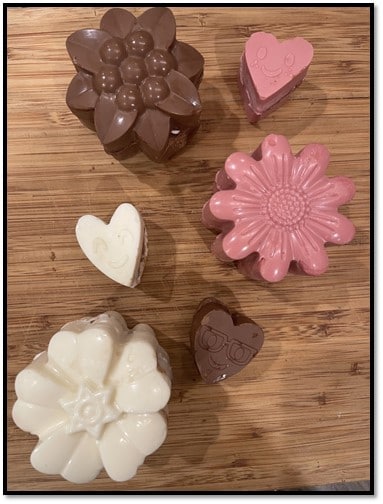
Step 10: Lightly press the two sides of the mold together to create the “bond” between the two shells.
Step 11: Voilà! You have successfully made hot chocolate bombs!!

Now that you have completed your hot chocolate bombs, place one of your bombs in cup of hot milk, stir, and watch your bomb work its magic!
This is such an entertaining, stress-free activity that you can make during the cold winter months. If you have the desire, you should definitely go and make these yourself! They are delicious and such and enjoyable way to pass the time!
Happy cooking everyone!
Photo Credit: Emily Mikolay


